I have gotten a lot of questions about how I do the lettering on my banners. I could just go to Hobby Lobby or any craft store and buy a stencil set which would make banners so much easier, but I love being able to do different fonts and customize my banners, so I make my own stencils. When I first started making banners this meant printing each letter and using an exacto knife to cut them out. This is what I did forever and it works great, it is just time consuming and unless you are really good with an exacto knife it is hard to do fonts that curve a lot. After talking with my sister I got the idea of using a Silhouette to make stencils. I found a plastic that was thin enough that the silhouette would cut it, but not so flimsy that it would be hard to use. I used this until I discovered stencil blanks by "Show Offs". Stencil blanks are fabulous! They are traditional stencil material, but still thin enough to be cut with the Silhouette. I cut mine on the magnet paper setting and I haven't had any problems. I love them because they don't break and the paint washes off of them easily. If you have a Silhouette or even a Cricut I would definitely using stencil blanks if you want to make customized reusable stencils. So far the only place I have been able to find stencil blanks are at Hobby Lobby, they are a little pricey, but worth it for me!


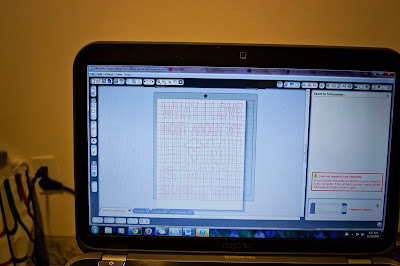
Hard to see, but maybe if you squint you can see the grid. The grid is the same as your cutting mat so it is really handy in sizing your stencils, or anything else you want to make.
Now imagine this with a grid and that is the above photo.
This is the stencil for my gratitude sign. I didn't put in the middle of the a's, e's and g's for this photo, but you do need them.
To get this you take your stencil and lay it down on top of whatver you want to paint. It will work best if you secure it down some way. I use double sided sticky tape to keep it in place while I am painting.
One of my favorite things about the silhouette is that you can open any image from google and then trace it and adjust it to create your own image. Sometimes it takes a little bit of work to get it just right, but it is so worth it! I pulled this reindeer from an image off google, live traced it in Adobe Illustrator and then traced that in Silhouette. I had to adjust a bunch of the anchor points, but in the end I have a fanstastic reindeer and it was completely free! I am so excited for this stencil! Look for it in my Christmas decorations.


No comments:
Post a Comment