Friday, January 10, 2014

Ponies in Pink: A Baby Shower

While I was home for break I had the chance to host a baby shower with my sisters for one of my sister-in-laws. Because I live in Utah I often miss out of this kind of stuff so I was really excited to help put it together. My sister-in-law is a vet and loves horses. She is also having a baby girl, so we went with a pink and gray horse theme. I can't tell you how much fun I had doing this, it was a lot of work, but so fun! 

My mom and I picked up some onesies and shoes at the second hand store. All together it was about $15 to put together, but all of the onesies were in brand new condition. Most of them had never been washed! 

 
One of my sisters had the idea of hanging them on a clothesline to display them. I'm so glad she thought of it becuase it was such a fun way to show off all the cute onesies and baby shoes!


I have been wanting a chicken wire frame for a while and I saw an idea on Pinterest similar to this and thought it was the perfect opportunity to make my frame.

The chalkboard photo display board was a Christmas gift I gave my mom. All of the onesies were cut out with a sillouette machine. The gray onesies are actually wrapping paper! It is wrapping paper made out of stone and it is awesome. Google it!

We had everyone write their name and their favorite childrens book on a onesie so my sister-in-law could have ideas of what children's books other people like.
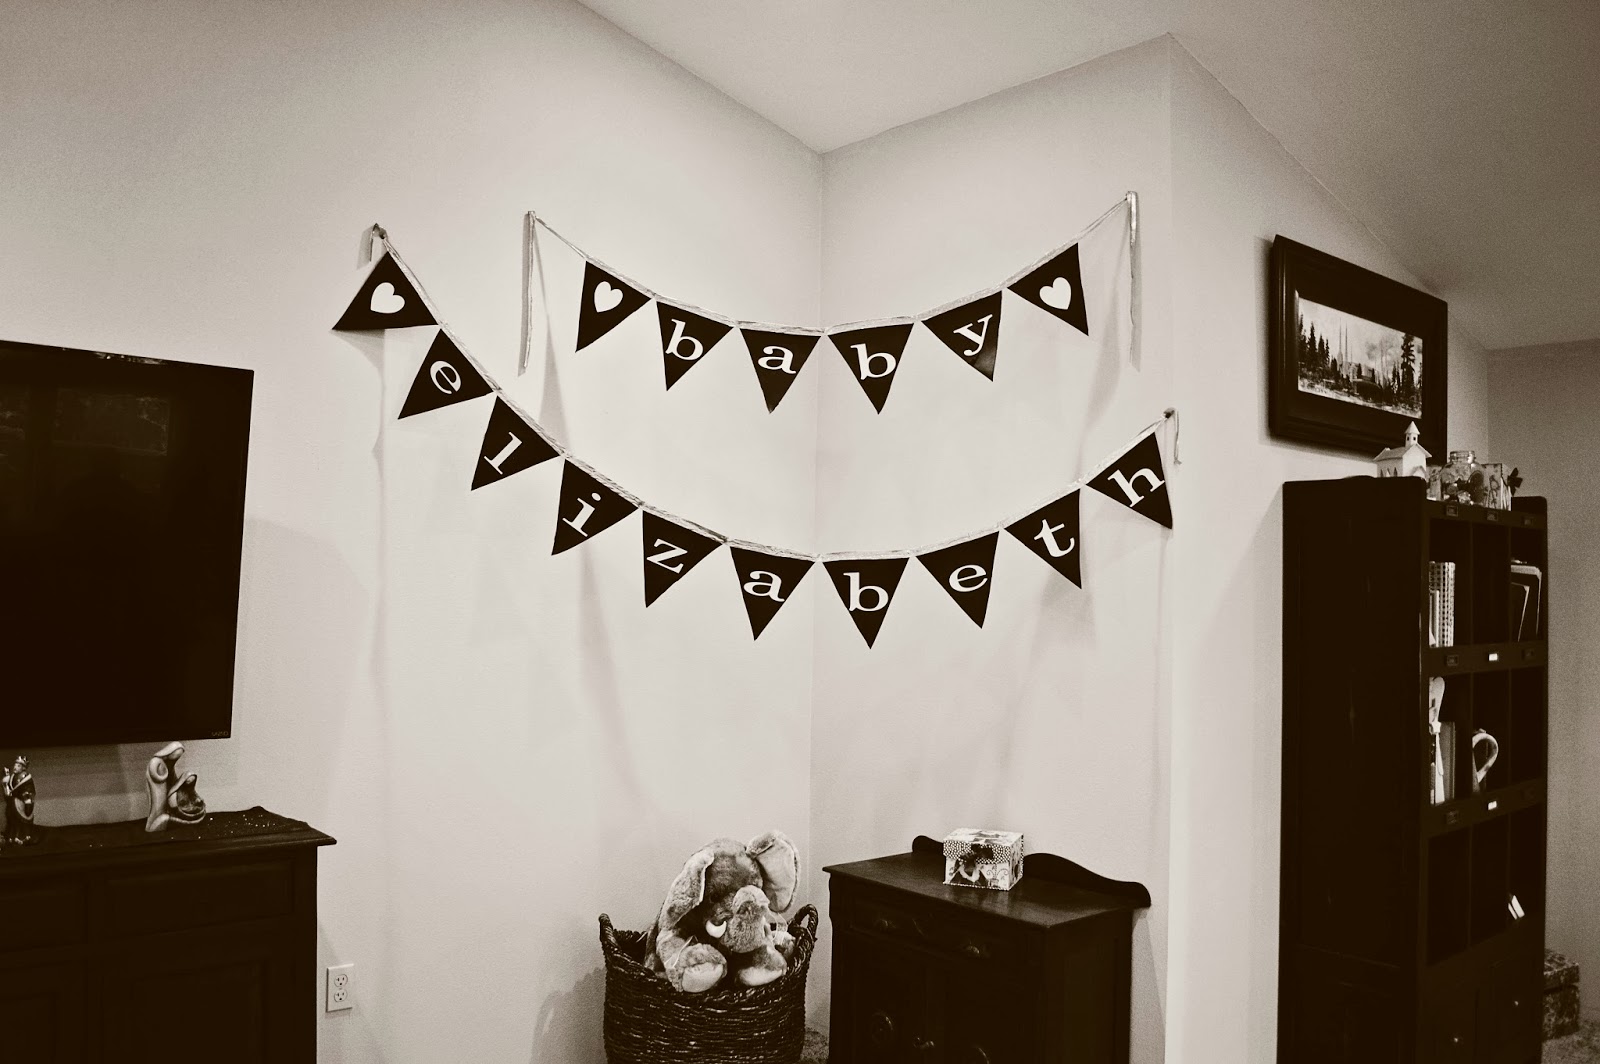


Remember my mom's chalkboard banner? We couldn't find any pink chalk so I typed everything up and then cut it out with the silhouette (I finally got my very own for Christmas, I am so excited!!). 


Also done with the Silhouette. 


One of my sisters has an entire collection of mason jars with vintage flower lids. They work perfect for parties! 


My mom picked this up in Salt Lake back in October, I think, and it was the perfect peice for the dessert table. 


I saw a sign on Pinterest that I wanted to recreate so I made myself a pallet, designed a horse, and put it together. I loved how it turned out and hope my baby neice loves it too! I will put up a tutorial on how to make your own in the next week or two.

FYI sugar decorations are much harder to make than they sound. I was really pleased with how they turned out, but they were not easy!


My sister made some delicious cupcakes and brought down these cute nut cups that she picked up from Orson Gygi in Salt Lake. 


We thought it would be a cute idea to have people guess when baby Elisabeth (yes, her name is spelled wrong on everything... whoops!) would be born. I forgot to get a picture at the end, but it was fun to see everyone making guesses. 

We are so excited for Baby Elisabeth to get here!

Tuesday, January 7, 2014

Making Our House a Home: Christmas

We are back from our Christmas vacation and while I was hoping to get this post up before Christmas, it's better late than never right? I had so much fun decorating for Christmas this year. It was the first year we finally felt like we could pull out our decorations even though we weren't in town for Christmas.


My mom got this angel at a garage sale of sorts and I absolutely love it. It is so unique and adds a fun twist to a regular angel.

Remember my stencil? I actually made this pillow for my mom, but had to include it in this post. 


Probably my favorite decoration. I love the serenity and peace it brings into our home.


How cool is this star? I found it at my favorite little antique boutique in South Provo.


Also another gift for my mom. I was going to make a banner, but ran out of time so I borrowed hers. P.S. that is chalkboard vinyl, it is the coolest!


Growing up my mom always decorated our staircase banisters along with our Christmas tree. When we first moved into our house and I saw the banisters I knew I wanted to do the same. My collection is much smaller, but I can't wait to see how it grows throughout the years.


Sunday, December 15, 2013

DIY Christmas Tree Skirt

I have been married for over two years and we have never had a Christmas tree, yikes! Now before you go judging us, our first two Christmas's we were students and spent most of our school breaks either in Oregon with my family or Colorado with my husbands. Having a Christmas tree didn't seem like a realistic option for us, especially a real one. This year I really wanted a Christmas tree, even though I will be gone for half of December, and finally gave in and bought a fake one on Black Friday. In preparation for getting our tree I decided I wanted to make a Christmas tree skirt. I had seen a bunch of different ones on Pinterest, but fell in love with a burlap and taffeta one. It took me a really long time to find the original blog that featured the skirt, but I found it and quickly went to work! I love, love, love how it turned out! Unfortunately my Christmas tree is a tad too big for it (it is also too big for my apartment, oh well). For the meantime it will work just fine, but someday when we move I will add a few more layers to it.

Materials: 
Hot glue gun
sewing machine (optional)
old tree skirt or material for base
3 yards of burlap
4 yards of red taffeta


Directions:

1. Cut your burlap and tafetta into two or two and half inch strips. The tafetta is easy because you can make a small cut and then tear the rest of the strip (tafetta and most materials will tear in a straight line). The burlap is a little bit tricker, but not too bad. To cut burlap you pull a thread out of the burlap which will give you a guide for where to cut. Then take your scissors and cut away. Be sure and cut your material the long way.


See how that makes nice straight lines for you?


2. Ruffling your fabric strips. I didn't ruffle my fabric strips before hand, but if I were to do it again I would. To do this take your material and sew two basting stiches along one egde. Then take the two ends of the threads and pull on them until your material is ruffled to your satisfaction. OR you can sew a top stich along one edge of your material gathering it as you go. Either should work. If you don't have a sewing machine or don't feel comfortable ruffling your material, have no fear you can still make this tree skirt!

3. Glueing your fabric onto your base or original tree skirt is by far the most time consuming part of this project. Start at the bottom of your base and glue down your first strip of material, gathering as you go if you need to. If the bottom of your base is really wide you may need to use more than one strip. I used about 8 strips of both the burlap and the tafetta. In total it took me about 3 hours to do the whole skirt, including
cutting the fabric.
I did not pre ruffle my fabric. It was a little difficult with the burlap, but still possible to do!


The top ruffles get a little tricky, but they are hidden by your tree :) 

4. Place under your Christmas tree and enjoy!